
How to Harvest and Dry Sunflower Seeds for Next Year
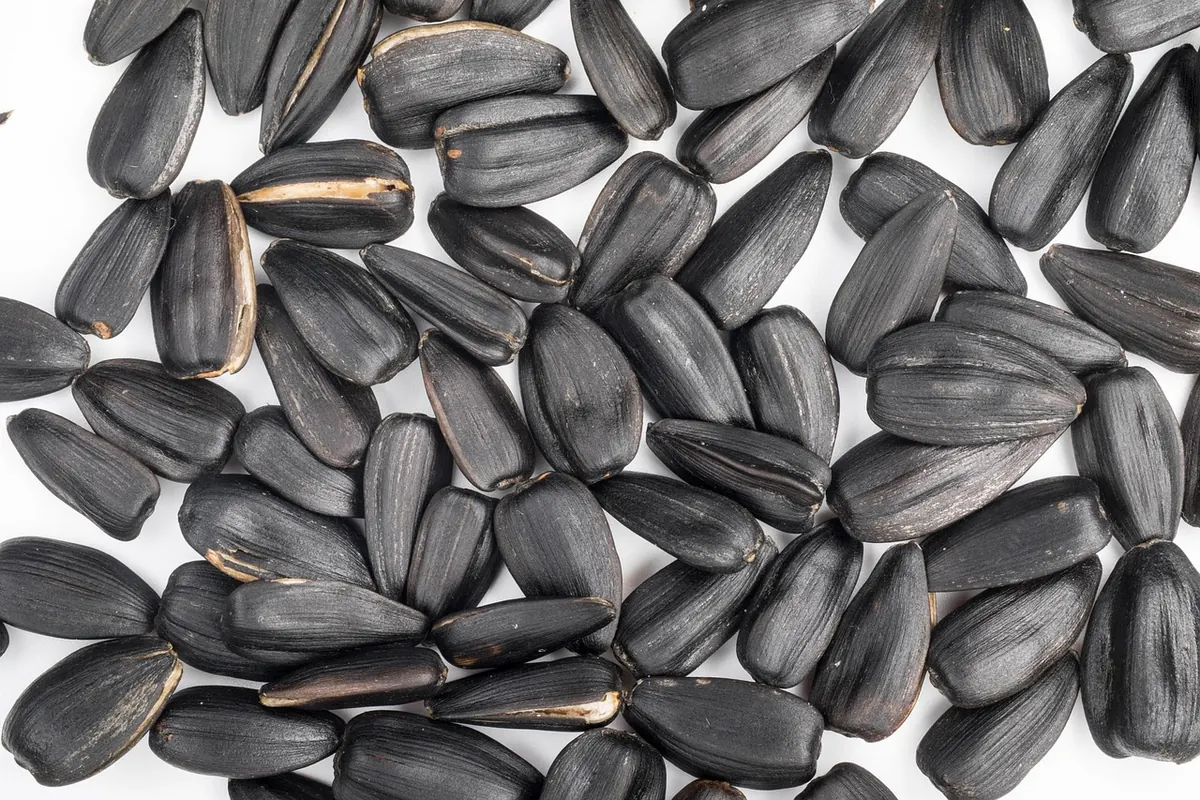
That sunflower head you have been admiring since July is quietly turning into next year's garden. Somewhere between the last bee visit and the first frost, those tiny florets become seeds, and the plant hands you a decision: leave the head for the goldfinches, or take it indoors and make your own seed packet. Harvesting is not complicated, but the timing is. Cut too early and the seed is soft, watery and quick to mould. Wait too long and the weather, the birds or one windy afternoon will do the harvesting for you.
What follows is the routine that works: reading the head, drying it properly, storing the seed well and confirming it will still sprout when spring comes.
Read the head before you cut
Sunflowers ripen from the outside in. The ring of seed around the rim matures first, while the centre is still pale and soft for another week or two. That is why a single glance at the petals tells you almost nothing: by the time the yellow is gone, the middle of the head may still be milky.
The reliable signals are on the back and in your fingers. Turn the head over. A green, sappy back means keep waiting. As the seed fills, it shifts to yellow-green, then to a brown, corky, almost woody texture. The small leaf-like bracts behind the head curl downward and dry out. Give the face a rub with your thumb and a few plump seeds should come away without a fight.
- The back of the head has gone brown and feels hard rather than spongy.
- Bracts behind the head curl back and look papery.
- Seeds in the outer ring are full, hard-shelled and show their final colour, whether striped or solid black.
- A seed pinched between your nails resists, then cracks. If it squashes into white paste, it is nowhere near ready.
- Birds start visiting with real enthusiasm, which is your cue to cover the head or cut it.
If you want to leave the head on the plant a few days longer to finish, tie a piece of old tulle, a mesh produce bag or a paper bag over it. Paper lets the head breathe; plastic does not, and a sealed plastic bag in August is an invitation to rot.
Cutting and handling without losing half the crop
Choose a dry morning once the dew has lifted. Cut the stem with a good pair of secateurs, leaving 20 to 30 centimetres of stalk attached. That stub is your handle and your hanging hook, and it keeps you from gripping the seed face, which is exactly where the seeds loosen and fall.
Carry the head face up in a bucket or a shallow crate, not under your arm. A ripe head can shed a surprising amount of seed on the walk back to the shed. If squirrels are an issue in your garden, harvest slightly on the early side and let the head finish drying indoors. You lose a little to Nature either way; better to lose it to your own drying rack than to a rodent.
Drying the heads safely
Everything about drying comes down to two things: air moving, and moisture leaving. A cool, still cellar will grow fuzz on your seed within a week. A warm, breezy, dry space is what you want, and there are two straightforward ways to get there.
- Hang them. Tie a loop of twine around the stalk stub and hang each head upside down, or hang it inside a mesh bag so falling seed is caught. Space the heads so they do not touch. A garage, shed, porch or spare room works well as long as it is dry and has some airflow.
- Use a rack. Lay heads face up in a single layer on a screen, an old window screen, a mesh drying rack or a slatted tray. Never stack them. A small fan on the lowest setting, aimed to move air around the room rather than directly at the seed, does a lot of good in humid weather.
Drying outdoors in full sun works in a dry climate, but bring the heads in at night to avoid dew, and cover them against rain and birds. If you are saving seed for planting rather than eating, keep the temperature modest. An oven or a hot radiator can dry a head quickly and quietly kill the embryo at the same time, so skip the heat entirely and give the seed a few extra days of moving air instead.
How to tell when drying is finished
Give it a week, then start checking. A properly dry head feels light and papery, almost hollow, and crackles faintly when you press the back. Seeds rub out in handfuls rather than singly. Bite one: a dry kernel snaps cleanly between your teeth, while an under-dry one bends or feels chewy. That snap is the test that matters most, because seed that seems dry on the outside can still be holding enough moisture to go mouldy in a sealed jar.
In a dry, breezy shed, most heads are ready in one to three weeks. In a damp autumn, allow longer and trust your teeth over the calendar.
Shelling and cleaning
Rub two heads together over a wide bowl, or work the seed loose with your thumbs, and most of it will fall free. Stubborn heads can be beaten gently with a short stick or the back of a wooden spoon. Then clean the batch: pour it slowly from one bowl to another outdoors on a breezy day, or shake it in a colander, and the chaff and light empty shells will blow away while the heavy seed drops straight down.
Resist the urge to float-test the seed at this stage. Soaking adds moisture you then have to dry out again, and wet seed stored in a jar is wasted seed.
Storing seed that will still be good next spring
Once the seed is genuinely dry, put it into glass jars, tins or heavy zip bags with the air pressed out, and add a small packet of silica gel if you have one. Label each container with the variety and the month and year, because next March you will not remember which jar held the tall Russian Giant and which held the little branching one. Keep the jars cool, dark and dry, and choose metal or glass over paper if mice can reach your shelf.
Airtight seed also freezes well for long storage. If you go that route, let the jar come fully to room temperature before opening it, so condensation forms on the glass rather than on the seed.
One thing worth knowing: if your sunflower was an F1 hybrid, the seed will grow into plants that differ from the parent. Save seed from open-pollinated varieties if you want a repeat performance.
Before you plant: a five-minute viability test
Come late winter, when the seed packets come out, count ten seeds from each jar and lay them on a damp, not dripping, piece of kitchen paper. Fold it, slide it into a zip bag, and leave it somewhere warm and ordinary, around 20 to 24°C. Check after a week and again at fourteen days, keeping the paper damp.
Count the sprouts. Eight or nine out of ten means sow as normal. Five or six means sow a little thicker and thin later. Two or three means the seed has faded, and it is worth buying fresh rather than gambling a whole row on it. Whatever the result, write it on the jar. A garden runs on small records like that, and next August you will be glad of them.
Photo: LeoNeoBoy / Pixabay